
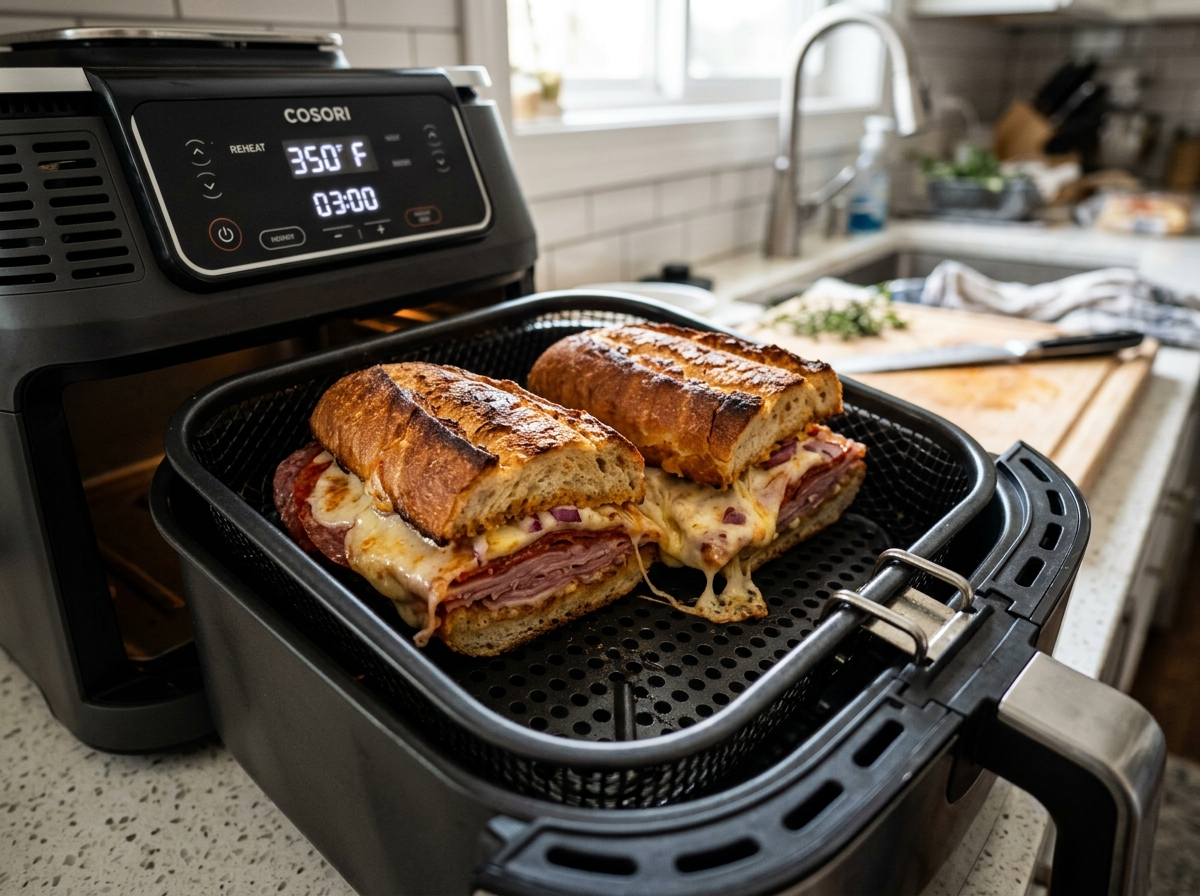
You grabbed a footlong yesterday, ate half, and now the rest is sitting in the fridge. You want it warm and crispy again, not a sad, soggy mess. The good news? You can bring that sub back to life. The bad news? The microwave will almost certainly ruin it. The best way to reheat a sub sandwich depends on what’s inside it and how much time you have, but a few simple tricks make a huge difference. Here’s exactly how to do it.
Why Reheating a Sub Sandwich Is Harder Than It Looks
A sub isn’t just bread and meat. It’s a layered construction with hot ingredients — melted cheese, roasted meat, warm peppers — and cold ones like lettuce, tomato, onion, and mayo. When you blast the whole thing with heat, the cold stuff turns to mush while the bread either dries out or goes rubbery.
The real culprit is moisture. Bread is basically a sponge. When you heat a sub in a closed environment like a microwave, the steam has nowhere to go. It soaks right back into the roll, and you end up with something that feels more like wet cardboard than a crispy hoagie. If you want to prevent a soggy sandwich, controlling moisture is your number one priority.
There’s also the starch problem. When bread cools down, its starches recrystallize in a process food scientists call retrogradation. That’s why day-old bread feels stiff and stale. Gentle, dry heat reverses this process and softens the crumb while crisping the crust. Harsh, wet heat makes it worse. Understanding this one concept will change how you approach every leftover sandwich you reheat.
The Best Way to Reheat a Sub Sandwich: The Oven Method
If you have 15 minutes and a regular oven, this is your best bet. The oven gives you even, dry heat that warms the filling while restoring the crust. It’s the method most deli workers would recommend because it closely mimics the original baking environment of the roll.
Step-by-Step Oven Reheating
Step 1: Prep the sub. Take the sub out of the fridge about 10 minutes before you plan to heat it. A cold sandwich straight from the fridge takes longer to warm through, which means the bread spends more time drying out. Letting it take the chill off gives you a head start.
Step 2: Deal with the cold toppings. This is the step most people skip, and it’s the reason their reheated subs taste wrong. Open the sandwich and peel off anything you don’t want hot — lettuce, tomato slices, raw onion, pickles, and any mayo-based spread. Set them aside on a plate. You’ll add them back later. If you’re reheating a classic Italian sub loaded with oil and vinegar, you might want to dab off excess dressing too.
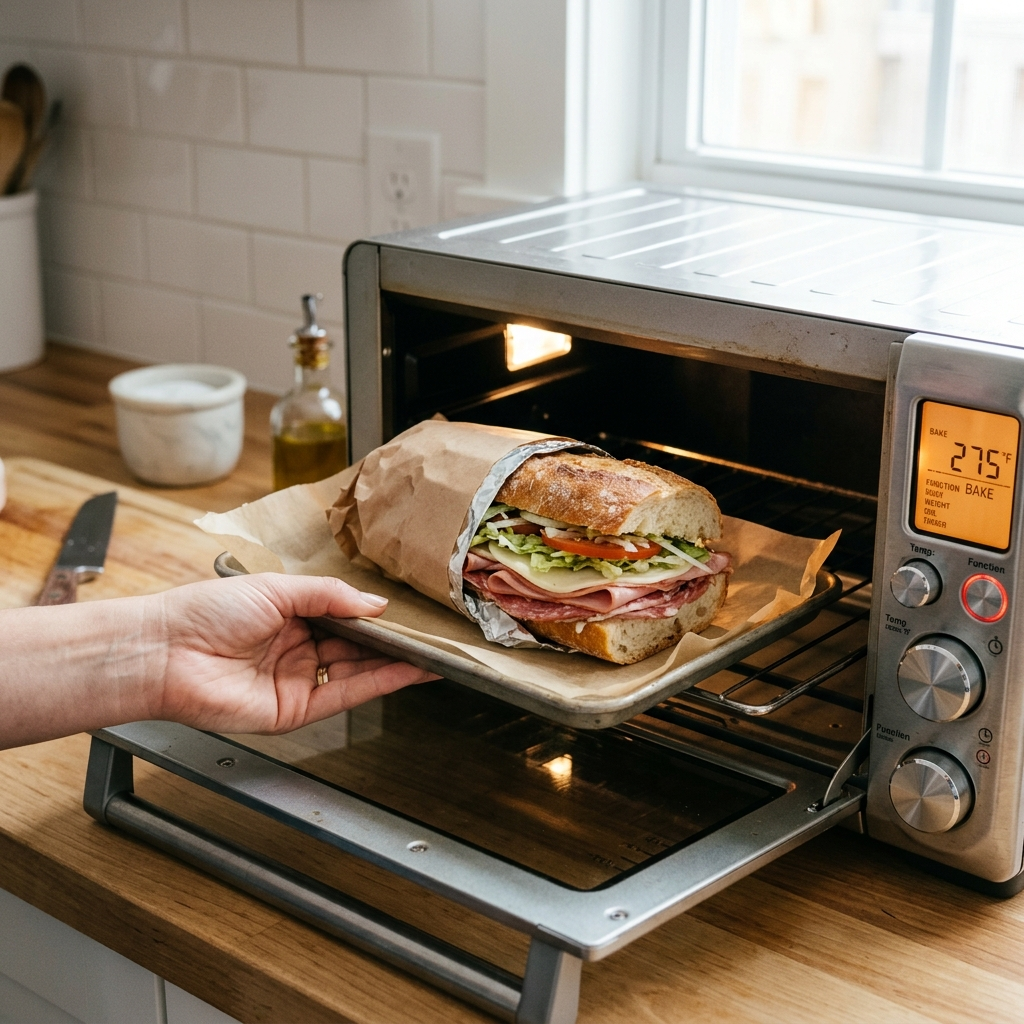
Step 3: Wrap loosely in foil. Place the sub on a sheet of aluminum foil and wrap it loosely. Don’t seal it tight — you want some steam to escape so the bread doesn’t get soggy. Leave the top slightly open if the sub has cheese you want to melt and brown.
Step 4: Heat at 350°F. Put the wrapped sub on a baking sheet and slide it into a preheated 350°F oven. Heat it for about 10 minutes. If the sub is thick or packed with dense meat like a meatball sub, give it 12 to 15 minutes.
Step 5: Crisp the roll. For the last 2 to 3 minutes, open the foil completely and let the bread toast directly. This is what brings back that satisfying crunch on the outside.
Step 6: Reassemble. Pull the sub out, let it cool for a minute, then pile those cold toppings back on. Add fresh mayo or oil and vinegar if needed. You’ve got a sandwich that tastes remarkably close to the original.
Other Reheating Methods That Actually Work
The oven is the gold standard, but not everyone has the time or the inclination to preheat a full-size oven for one sandwich. Here are three alternatives that get solid results.
Toaster Oven
A toaster oven is basically a mini version of the oven method, and it works beautifully for a single sub. Preheat to 350°F, wrap the sub loosely in foil, and heat for 8 to 10 minutes. Unwrap for the last 2 minutes to crisp the crust. The advantage here is speed — a toaster oven preheats in about 3 minutes compared to 10 or more for a full oven. If you already use your toaster oven to toast sandwiches, this will feel like second nature.
Air Fryer
The air fryer is a great option if you want maximum crispiness. Set it to 325°F and heat the sub for 4 to 6 minutes. You don’t need foil here — the circulating air does the work of crisping the bread while warming the inside. Keep an eye on it, though. Air fryers run hot and fast, and an overcooked sub roll turns into a giant crouton. This method works especially well for subs with a sturdy crust, like a leftover cheesesteak or a meatball sub.
One warning: if your sub is overstuffed, it might not fit in the air fryer basket. Don’t force it. A squished sub heats unevenly and the fillings spill out everywhere.
Skillet or Pan
No oven, no air fryer? A skillet works in a pinch. Heat a non-stick pan over medium-low heat. Place the sub in the pan and cover it with a lid. The lid traps just enough heat to warm the filling without drying out the bread. Flip the sub halfway through, about 3 to 4 minutes per side. You’ll get a nicely toasted exterior, though the inside won’t heat as evenly as the oven method. This approach is best for thinner subs like a simple ham and cheese.
The Microwave: Fast but Flawed
Let’s be honest. Sometimes you’re at work, you have 90 seconds, and the microwave is the only option. Can you reheat a sub sandwich in the microwave? Yes. Will it be great? No.
The microwave heats by exciting water molecules, which means it steams the bread from the inside out. The result is a soft, chewy, slightly rubbery roll that goes stale within minutes of cooling down. The cheese might melt nicely, but the bread pays the price every single time.
If the microwave is your only option, here’s how to minimize the damage. Wrap the sub in a dry paper towel to absorb excess moisture. Heat it in 15-second bursts rather than one long blast — this gives you more control and reduces the chance of overheating the bread. Aim for 30 to 45 seconds total. And eat it immediately. A microwaved sub does not age well, even by leftover standards.
A slightly better microwave trick: place a small cup of water next to the sandwich while heating. The water absorbs some of the microwave energy and moderates the intensity hitting the bread. It won’t give you oven-quality results, but it takes the edge off the rubberiness. Think of it as damage control, not a real solution.
What to Do About Cold Toppings
This deserves its own section because it’s the single biggest mistake people make when reheating subs. Not every ingredient belongs in the heat, and ignoring this reality is why so many leftover subs end up disappointing.
Always remove before reheating:
- Lettuce and leafy greens (they wilt into slimy nothing)
- Tomato slices (they turn mushy and waterlogged)
- Raw onion (it gets oddly sweet and soft)
- Mayo, aioli, or ranch (they separate and get greasy)
- Fresh herbs like basil or arugula
Fine to leave on:
- Cheese (it melts — that’s the whole point)
- Cooked peppers and onions (they’re already soft)
- Pickles and banana peppers (they hold up reasonably well, though they’ll warm through)
- Mustard and oil-and-vinegar dressings (heat won’t ruin them)
The 30 seconds it takes to peel off the cold stuff and set it aside is the difference between a decent reheated sub and a disappointing one. Think of it this way: a deli builds the sandwich in layers for a reason. The hot ingredients go on the warm bread, and the cold ingredients go on top. You’re just recreating that same process at home.
Reheating Specific Sub Types
Not all subs are created equal, and the best reheating approach shifts depending on what’s inside.
Meatball subs are dense and saucy. They need the longest oven time — closer to 15 minutes at 350°F — because the meatballs are thick and the sauce needs to heat all the way through. Keep the foil on for most of the time to prevent the cheese from burning before the center is hot.
Italian subs and hoagies are loaded with cured meats, cheese, and usually a pile of cold vegetables. Disassembly is critical here. Strip off the lettuce, tomato, and onion, heat the meat and cheese portion, then rebuild. If you’re curious about what makes these sandwiches different in the first place, check out this breakdown of hoagie vs sub vs grinder.
Chicken or turkey subs with lighter fillings heat faster. Eight to ten minutes in the oven is usually plenty. The risk here is drying out the poultry, so don’t overheat. A light foil wrap helps retain moisture.
Breakfast subs with egg and bacon reheat surprisingly well in a skillet. The flat surface toasts the bread while gently warming the egg. Just keep the heat at medium-low so the egg doesn’t turn rubbery.
Food Safety Tips for Leftover Subs
Disclaimer: The following is general food safety information based on USDA guidelines and is not a substitute for professional food safety advice. When in doubt, throw it out.
Leftover subs sit in a tricky zone because they combine cooked meats, deli meats, cheese, and fresh vegetables — all of which have different spoilage timelines. According to the USDA’s food safety guidelines on leftovers, perishable foods should not sit at room temperature for more than two hours, or one hour if the temperature is above 90°F.
If your sub was left out at a party or on the counter overnight, reheating it will not make it safe. Bacteria like Listeria and Staphylococcus produce heat-stable toxins that your oven cannot destroy. No amount of heat fixes a sandwich that’s been in the danger zone too long. If you’re unsure how long your sandwich has been sitting out, review these guidelines on how long sandwiches can safely sit out.
When storing a leftover sub, wrap it tightly in plastic wrap or foil and get it into the fridge within two hours. It’ll stay good for about 3 to 4 days. Deli meats specifically have a limited fridge life, so it helps to know the safe storage window for deli meat before you commit to reheating something that’s been lingering in the back of the fridge.
When reheating, aim for an internal temperature of 165°F for any sandwich containing cooked poultry or previously cooked meats. A quick-read thermometer takes the guesswork out of it and gives you real peace of mind.
Quick Comparison of Reheating Methods
| Method | Time | Crispiness | Even Heating | Best For |
|---|---|---|---|---|
| Oven | 12–15 min | Excellent | Excellent | All sub types |
| Toaster Oven | 8–10 min | Very Good | Very Good | Single subs |
| Air Fryer | 4–6 min | Excellent | Good | Crusty rolls |
| Skillet | 6–8 min | Good | Fair | Thin subs |
| Microwave | 30–45 sec | Poor | Poor | Emergencies only |
Frequently Asked Questions
Can you reheat a sub sandwich with lettuce on it?
Technically yes, but you really shouldn’t. The heat wilts the lettuce into a slimy, unappetizing mess that makes the whole sandwich worse. Take 30 seconds to peel it off before reheating, then put it back on after the sub is warm. The texture difference is enormous and well worth the tiny effort.
How long does a leftover sub last in the fridge?
A properly stored sub lasts 3 to 4 days in the refrigerator. Wrap it tightly in plastic wrap or aluminum foil to keep air out. After day four, the bread will be noticeably stale and the deli meats may start to spoil, even if they don’t smell bad yet. Trust the calendar, not your nose.
Can you reheat a sub in the air fryer?
Yes, and it’s one of the best quick methods. Set the air fryer to 325°F and heat for 4 to 6 minutes. No foil needed. Watch it closely to avoid over-crisping the bread. This works best for subs with sturdy rolls and hot fillings like meatballs or cheesesteak.
Is it safe to reheat a sub that was left out overnight?
No. Perishable ingredients like deli meat, cheese, and cooked proteins enter the bacterial danger zone after two hours at room temperature. Reheating kills some bacteria but does not neutralize the toxins they’ve already produced. If it sat out overnight, toss it — it’s not worth the risk.
What’s the best way to reheat a meatball sub?
Use the oven at 350°F for 12 to 15 minutes, wrapped loosely in foil. Meatball subs are dense and saucy, so they need more time than a cold-cut sub. Open the foil for the last 3 minutes to crisp the bread and brown the cheese on top.
Your leftover sub doesn’t have to be a sad desk lunch. A few minutes in the oven or air fryer, plus the small effort of pulling off the cold toppings, brings it back surprisingly close to its original glory. Next time you grab a sub to go and know you won’t finish it, consider pulling the lettuce and tomato before you even take your first bite — future you will be grateful.
Now go reheat that sandwich the right way. You’ve earned it.