
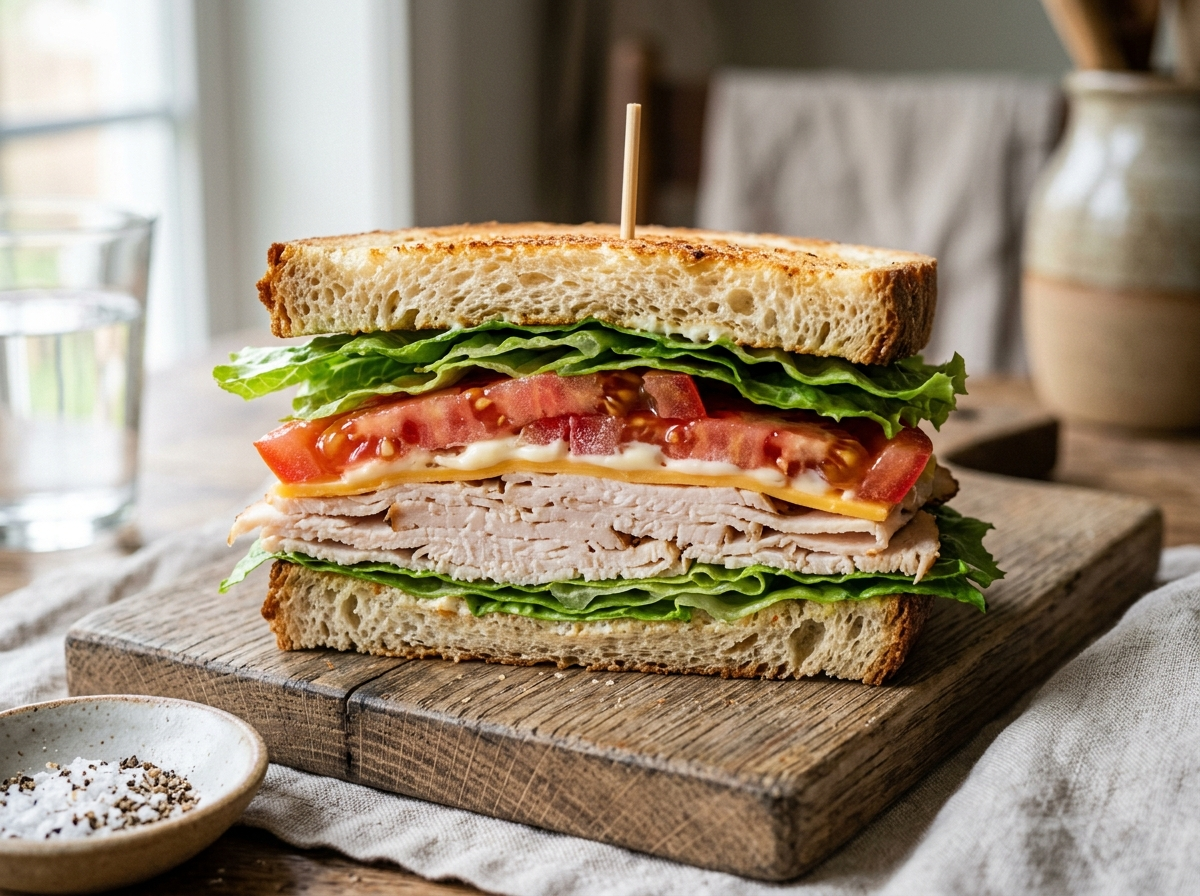
You made a great sandwich at 7 AM. By noon, the bread is a wet, sad mess. Sound familiar? The problem isn’t your ingredients — it’s moisture moving from your fillings straight into the bread. You can stop it with a few simple changes to how you build and pack your lunch. Here’s exactly how to keep sandwiches from getting soggy, whether you’re packing a school lunch or prepping for the week.
Why Sandwiches Get Soggy in the First Place
Before you can fix the problem, you need to understand what’s actually happening inside that lunchbox. Sogginess isn’t random. It’s basic physics doing its thing while your sandwich sits on a desk.
The Science of Moisture Migration
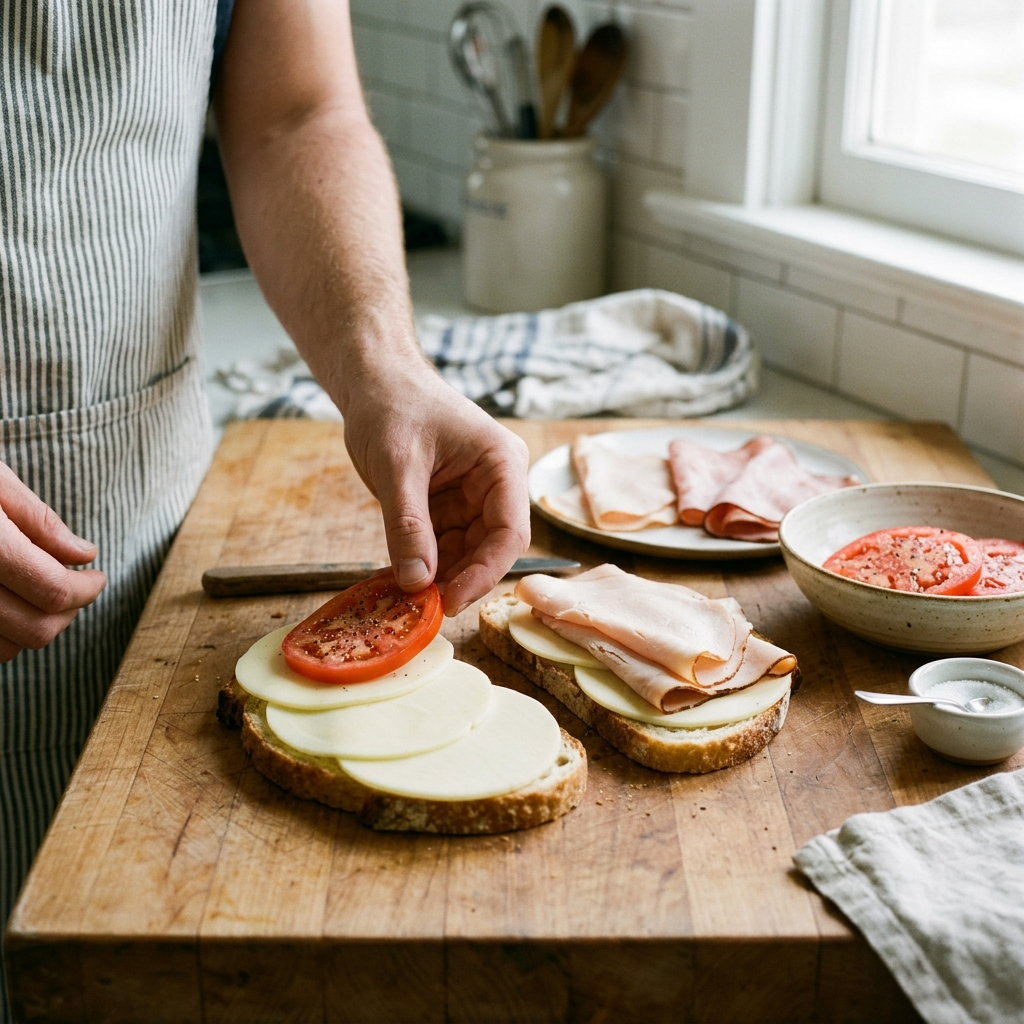
Bread is essentially a sponge. Its crumb structure is full of tiny air pockets and starch granules that love to absorb water. When you place wet ingredients against that bread, moisture naturally moves from the wetter area (your tomato slice) to the drier area (the bread). Food scientists call this moisture migration, and it starts the moment your fillings touch the crumb.
Harold McGee explains this well in On Food and Cooking: starch in bread readily absorbs free water, which softens the gluten network and turns a firm slice into mush. The longer the contact, the worse it gets. That’s why a sandwich eaten five minutes after assembly tastes great, but the same sandwich at hour four is a different story.
Heat makes the problem worse. A warm lunchbox speeds up moisture movement, which is why sandwiches packed without an ice pack tend to suffer the most.
The Biggest Soggy Culprits
Not all ingredients cause equal damage. The worst offenders release a lot of free water:
- Tomatoes are roughly 94% water. They’re the number one reason sandwiches turn soggy by lunchtime.
- Pickles and cucumbers carry a ton of brine and moisture.
- Washed lettuce and greens hold water in their folds even after you shake them off.
- Juicy deli meats like roast beef or fresh turkey release moisture as they sit.
- Thin, watery condiments like vinegar-based dressings soak right through bread.
Mayo gets a bad reputation, but it’s actually mostly fat and egg yolk. Fat repels water. A thin layer of full-fat mayonnaise on bread can actually protect it from sogginess — more on that in a minute.
Sandwich Assembly Tips That Actually Work
How you stack your ingredients matters just as much as what you put in the sandwich. A few minutes of intentional layering can be the difference between a crisp lunch and a soggy disappointment. If you want a deeper walkthrough on building a great deli sandwich from start to finish, this guide on how to build the perfect deli sandwich covers the full process.
Build a Fat Barrier
This is the single most effective trick in the book. Spread a thin, even layer of something fat-based on both slices of bread before you add anything else. Good options include:
- Full-fat mayonnaise
- Softened butter
- Cream cheese
- Hummus (thicker varieties work best)
The fat creates a hydrophobic layer — a fancy way of saying it repels water. Moisture from your fillings hits that fat barrier and stops there instead of soaking into the bread crumb. You want complete edge-to-edge coverage. Any bare spot is a weak point where water will sneak through.
Layer Smart, Not Random
Once your fat barrier is in place, think about the order of your fillings. The goal is to keep the wettest ingredients as far from the bread as possible. Here’s a reliable stacking order from bottom to top:
- Bread with fat spread
- Dry cheese slices
- Deli meat (patted dry if it looks wet)
- A dry lettuce leaf acting as a shield
- Wet vegetables (tomatoes, pickles, cucumbers)
- Another lettuce leaf
- Top bread with fat spread
The lettuce acts as a physical barrier between the wet veggies and the rest of the sandwich. The cheese and meat buffer the bottom slice. By the time moisture tries to reach the bread, it has to get through three layers of protection.
Handle Wet Ingredients Separately
If you’re making a classic BLT sandwich or anything tomato-heavy, the best move is to pack the tomatoes in a small container and add them right before you eat. It takes ten extra seconds at lunch and completely eliminates the biggest source of sogginess.
For pickles and cucumbers, pat them dry with a paper towel before layering them in. That alone removes a surprising amount of surface moisture. If you’re prepping sandwiches the night before, leave the pickles out entirely and add them in the morning.
How to Keep Sandwich Bread From Getting Soggy
Your choice of bread and how you prep it play a huge role in whether your sandwich holds up or falls apart. Not all breads are built the same, and a small amount of prep work goes a long way.
Toasting Makes a Real Difference
Lightly toasting your bread before assembling the sandwich creates a drier, slightly sealed surface that resists moisture absorption. You don’t need to turn it into a crouton — just a light golden toast on the inside faces is enough. If you’re not sure about the best method, this breakdown of how to toast a sandwich in the oven covers a few easy approaches.
Toasting works because it drives off surface moisture and slightly gelatinizes the outer starch layer, making it less absorbent. The effect isn’t permanent — toasted bread will eventually soften if it sits against wet fillings long enough — but it buys you several extra hours of structural integrity.
Choose the Right Bread
Some breads are naturally better at fighting sogginess. Dense, thick-crusted breads with a tight crumb structure absorb moisture more slowly than soft, airy sandwich bread. Good choices include:
- Sourdough — the acidity and dense crumb hold up well
- Ciabatta — thick crust acts as a natural shield
- Rye or pumpernickel — tight, heavy structure resists soaking
- Baguettes and hoagie rolls — the crust-to-crumb ratio is in your favor
Soft white sandwich bread is the worst option for packed lunches. It’s practically designed to absorb moisture quickly, which is great for a grilled cheese you eat immediately but terrible for a sandwich sitting in a backpack for four hours.
If you do use softer bread, toasting becomes even more important. And consider using a slightly thicker slice — more crumb means the moisture has further to travel before the whole slice is compromised.
Packing and Storage Tricks for Lunch
You’ve built the perfect sandwich. Now you need to make sure it survives the trip to work or school without turning into a wet brick.
Wrapping Matters More Than You Think
Most people reach for plastic wrap or a zip-top bag out of habit. That’s actually one of the worst choices you can make. Plastic traps steam and condensation against the bread, which accelerates sogginess from the outside in.
Parchment paper or wax paper is a much better option. These materials let the sandwich breathe slightly while still protecting it from getting crushed. Wrap the sandwich snugly, fold the ends under, and you’re set.
If you need extra protection, wrap the parchment-wrapped sandwich in a loose layer of aluminum foil. The foil blocks light and adds a bit of insulation without trapping moisture the way plastic does.
For party platters or large batches, check out these tips on how to keep sandwiches fresh for a party — the wrapping strategy shifts a bit when you’re making dozens at a time.
Temperature Control
Warmth is your enemy. A sandwich sitting in a hot car or a warm backpack will deteriorate much faster than one kept cool. Always use an insulated lunch bag with a frozen ice pack if you’re packing perishable fillings like deli meat, cheese, or egg salad.
⚠️ Food Safety Note: According to the USDA, perishable foods like deli meats and dairy should not sit at room temperature for more than 2 hours (or 1 hour if the temperature is above 90°F). This is general food safety information and not a substitute for guidance from a food safety professional. When in doubt, keep it cold or toss it.
Keeping the sandwich cold also slows down moisture migration. Cold air holds less water vapor, and cold ingredients release moisture more slowly than warm ones. So your ice pack is doing double duty — keeping your food safe and keeping your bread drier.
You can also freeze the bread slices for 10–15 minutes before assembling. The bread will thaw by lunchtime, and that brief freeze slows the initial moisture absorption during the first couple of hours.
Soggy Sandwich Fix: Quick Rescues
Sometimes despite your best efforts, you open your lunchbox and the damage is already done. Here’s what you can do to salvage the situation.
Scrape and reassemble. If only one side is soggy, carefully peel off the wet fillings, scrape the mushy bread layer with a knife, and reassemble with the drier side facing the fillings. It’s not elegant, but it works in a pinch.
Toast it if you have access to a kitchen. Pop the soggy sandwich in a toaster oven or skillet for a couple of minutes. The heat drives off some of the absorbed moisture and firms up the bread. A soggy grilled cheese is still better than a cold soggy sandwich.
Deconstruct and eat separately. This sounds dramatic, but pulling the fillings out and eating them alongside the less-damaged bread is a perfectly fine lunch. No one at your desk is judging you.
For next time, pack wet ingredients separately. A small container of sliced tomatoes, a baggie of pickles, a little cup of dressing — these take almost no space and guarantee your bread stays dry until the moment you’re ready to eat.
Frequently Asked Questions
How far in advance can you make sandwiches without them getting soggy?
With the right techniques — fat barrier, dry ingredients, dense bread, and parchment wrapping — you can make sandwiches 12 to 24 hours ahead and still have a perfectly fine lunch. Beyond 24 hours, even the best-prepared sandwich will start to soften. If you’re meal prepping for the full week, assemble the dry components (bread, spreads, cheese, cured meats) and add fresh vegetables the morning of.
Does toasting bread really prevent sogginess?
Yes, but it’s not a permanent fix. Light toasting dries the bread surface and slightly seals the starch, which slows moisture absorption for the first few hours. By hour six or seven, a toasted sandwich will still soften if it’s packed with wet ingredients. Think of toasting as one layer of defense, not the only one. Combine it with a fat barrier and smart layering for the best results.
What’s the best bread for packed sandwiches?
Dense, crusty breads like sourdough, ciabatta, and rye hold up the longest because their tight crumb structure absorbs moisture slowly. Hoagie rolls and baguettes are also solid choices thanks to their thick crusts. Avoid soft, pre-sliced white bread for anything you plan to eat more than two hours after making. If soft bread is all you have, toast it and use a generous fat barrier on both slices.
Your next sandwich doesn’t have to end up as a sad, wet mess by noon. Start with a fat barrier on both slices, keep the wettest ingredients away from the bread, choose a denser loaf, and wrap it in parchment instead of plastic. These small changes take almost no extra time, but they make a huge difference in how your lunch holds up. Try one or two of these tips tomorrow morning and see how your sandwich looks at noon — you’ll notice the difference right away.