
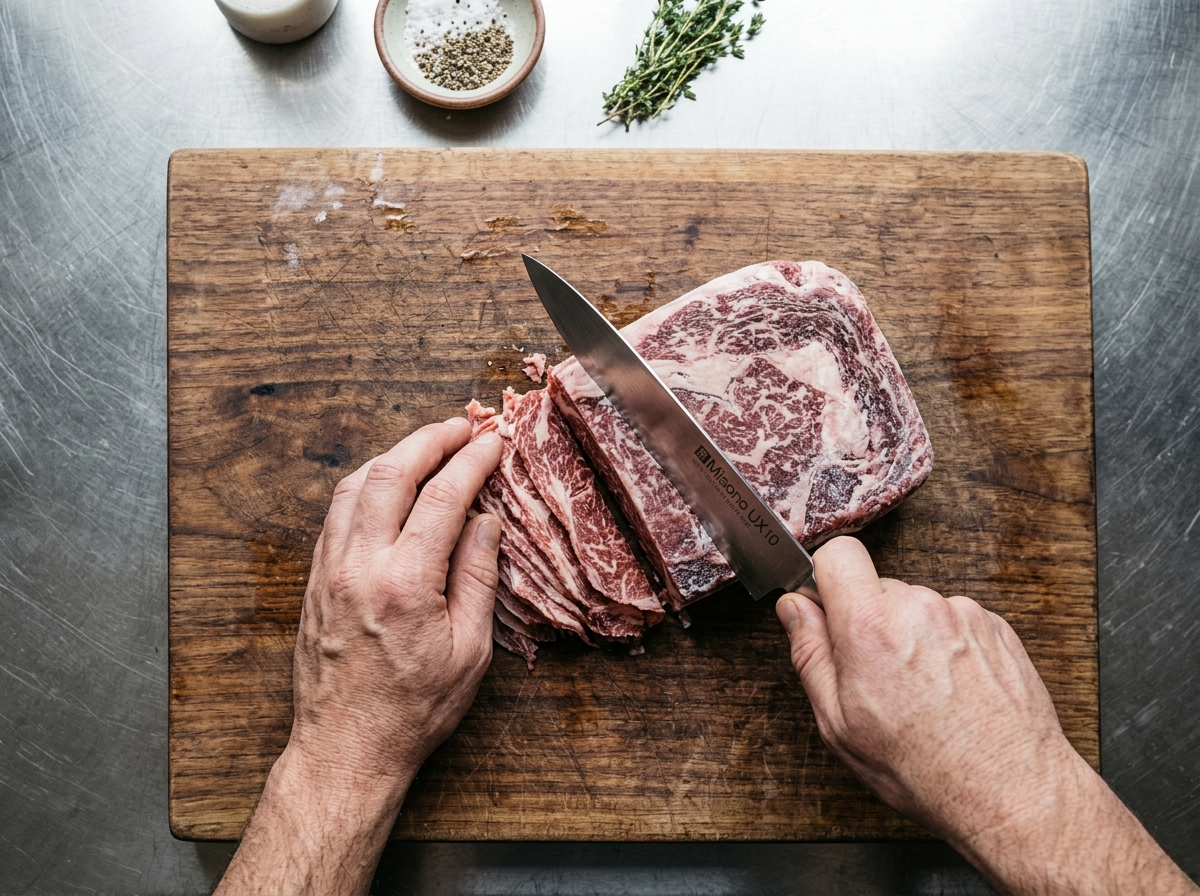
You bought the right bread. You picked out good cheese. But when you bite into your homemade cheesesteak, the meat is thick, chewy, and nothing like what you’d get on South Street in Philly. The problem isn’t your recipe — it’s your slices.
Getting that paper-thin, melt-in-your-mouth shaved beef at home is easier than you think, and you probably don’t need to buy a $200 deli slicer to pull it off. Here’s exactly how to slice meat thin for cheesesteaks using tools you already have in your kitchen.
Why Thin Slices Make or Break a Cheesesteak
A real Philly cheesesteak isn’t made with strips of beef. It’s made with shavings — pieces so thin they almost dissolve when they hit the hot griddle. That’s what gives the sandwich its signature texture: tender, slightly crispy at the edges, and easy to bite through without yanking the whole filling out of the roll.
When your slices are too thick, a few things go wrong. The meat takes longer to cook, which means it steams instead of searing. You end up with gray, rubbery strips that fight your teeth instead of melting on your tongue. Those thick pieces also don’t mix well with the cheese, so you get pockets of plain meat and pockets of plain cheese instead of that beautiful, gooey blend.
The thinness matters so much that the original cheesesteak shops in Philadelphia — places you can read about in this history of the Philly cheesesteak — use commercial deli slicers to shave partially frozen ribeye into ribbons you can almost see through. You won’t replicate a commercial Hobart slicer at home, but you can get remarkably close with a sharp knife and a little patience.
Best Cuts of Beef for Thin Slicing
Not every cut of beef behaves the same way when you try to shave it thin. The fat content, the grain structure, and the overall shape of the cut all affect how easily you can get those paper-thin slices.
Ribeye vs. Top Round vs. Sirloin
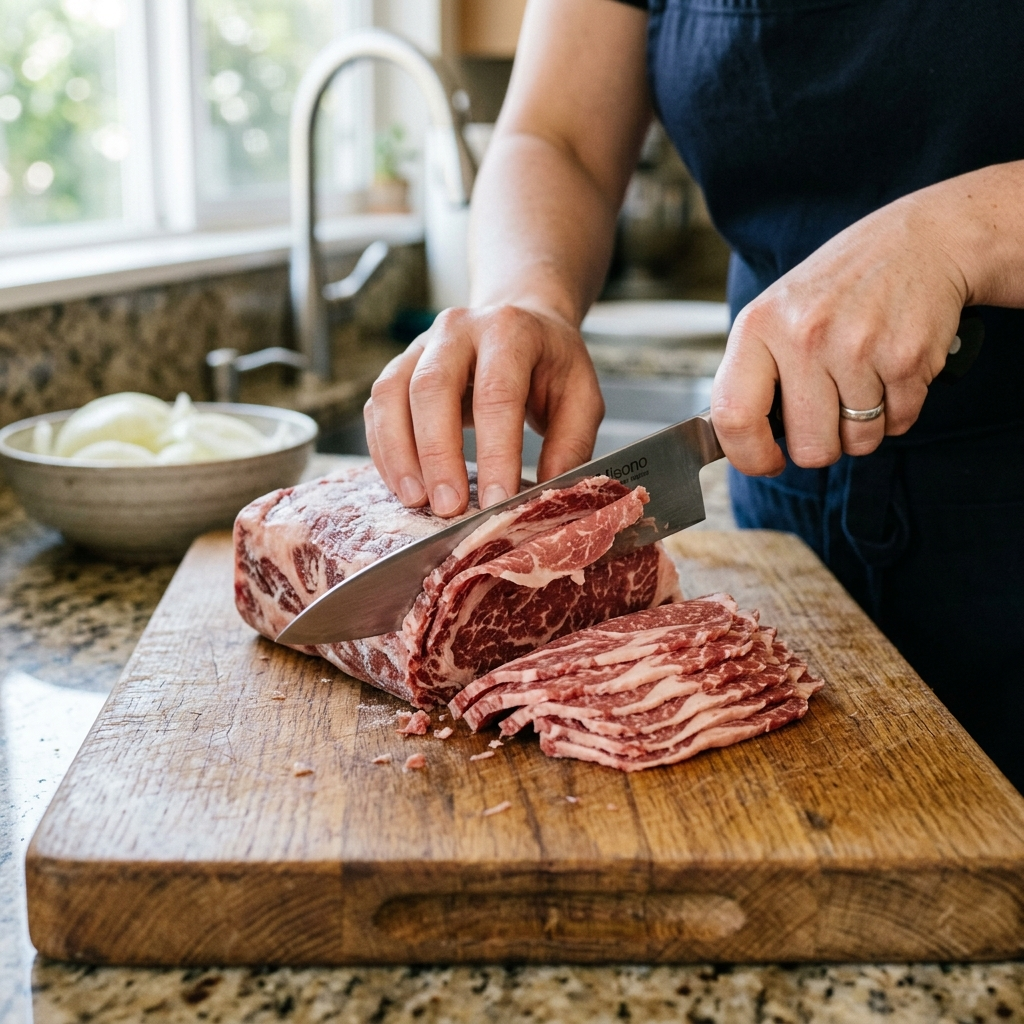
Ribeye is the traditional choice for a Philly cheesesteak, and for good reason. The marbling gives you incredible flavor, and the fat renders beautifully on a hot surface. The trade-off? All that intramuscular fat makes ribeye a bit trickier to slice ultra-thin by hand. The fat streaks can cause your knife to slip or the slice to tear unevenly. If you’re going the hand-slicing route, ribeye needs a longer freeze time to firm up properly.
Top round is leaner, cheaper, and honestly easier to slice thin because there’s less fat getting in the way of your blade. It won’t have the same rich, beefy punch as ribeye, but it’s the cut many home cooks actually have more success with. If flavor is your concern, you can make up for it with good seasoning and a proper sear. For a deeper look at which cut works best for your taste, check out this breakdown of the best cheesesteak meat cuts.
Sirloin sits somewhere in the middle. It’s got more flavor than top round and less fat than ribeye, making it a solid compromise. The main thing to watch for is the grain — sirloin can have a tighter grain pattern, so you need to pay extra attention to cutting against it.
The Freezer Trick (And How to Not Overdo It)
This is the single most useful technique for slicing meat thin at home, and it’s the one thing that separates people who struggle from people who nail it on their first try.
The idea is simple: you put your beef in the freezer for a short time before slicing. The cold firms up the meat just enough that your knife glides through cleanly instead of squishing and tearing the soft, raw flesh. Think of it like trying to slice a ripe tomato versus a slightly firm one — the firmer the surface, the cleaner the cut.
Timing Your Freeze for the Perfect Firmness
Here’s where most people mess up. They throw the meat in the freezer, forget about it, and pull out a rock-solid block an hour later. That’s too frozen. Your knife will skid off the surface, which is both frustrating and genuinely dangerous.
The sweet spot is 30 to 45 minutes for a standard ribeye or top round steak that’s about 1 to 1.5 inches thick. You want the outside to feel firm to the touch — like pressing on a tennis ball — while the center still has a little give. If you press your thumb into the meat and it barely dents, you’re in the right zone. If your thumb doesn’t make any impression at all, let it sit on the counter for 10 minutes before you start cutting.
A quick practical note: thinner cuts (like a half-inch steak) will firm up faster, sometimes in as little as 20 minutes. Thicker roasts can take closer to an hour. Check on the meat every 15 minutes after the first half hour so you don’t overshoot.
How to Slice Meat Thin by Hand
Once your beef is properly chilled, the actual slicing technique matters more than you might think. A sharp knife and the right angle will get you slices that rival a deli counter.
Knife Choice and Angle
Use the longest, sharpest knife you own. A 10-inch or 12-inch slicing knife is ideal, but a well-sharpened chef’s knife works fine. What you don’t want is a short paring knife or a dull blade — both will force you to saw back and forth, which tears the meat into ragged strips instead of clean shavings.
Hold the knife at a shallow angle, roughly 15 to 20 degrees relative to the surface of the meat. You’re not chopping down; you’re drawing the blade across in long, smooth strokes. Imagine you’re trying to shave a layer off the top of the steak rather than cutting through it like a loaf of bread.
The Actual Cutting Motion
Start at the heel of the blade (the part closest to the handle) and pull the knife toward you in one long, continuous stroke, letting the tip of the blade finish the cut. Don’t saw back and forth. One smooth pull per slice.
Cut against the grain — this is non-negotiable for tender results. Look at the surface of the meat and find the direction the muscle fibers run. Your knife should cross those fibers at a 90-degree angle. Cutting with the grain gives you long, stringy pieces that are tough to chew no matter how thin you get them.
Aim for slices that are about 1/8 inch thick or thinner. They don’t need to be perfectly uniform. In fact, a little variation is fine because the thinner bits will crisp up on the griddle while the slightly thicker pieces stay juicy. That mix of textures is actually what makes a great cheesesteak.
Pro Tip: If you’re struggling to get consistent slices, try cutting the steak in half first so you have a smaller, more manageable piece to work with. A smaller surface area gives you more control over each stroke.
Tools That Help: Meat Slicer, Food Processor, and More
Hand-slicing works great, but if you make cheesesteaks often or you’re feeding a crowd, you might want to consider some tools that speed up the process.
Do You Really Need a Meat Slicer for Cheesesteak?
A dedicated meat slicer for cheesesteak is the closest you’ll get to deli-counter results at home. An entry-level electric slicer runs about $50 to $100, and it’ll shave partially frozen beef into whisper-thin ribbons in seconds. If you make cheesesteaks more than a couple of times a month, it’s a worthwhile investment.
The downside? Slicers are bulky, they’re a pain to clean (you have to disassemble the blade guard and carriage every time), and they take up real cabinet space. For most home cooks who make cheesesteaks a few times a year, the freezer-and-knife method is plenty.
Here’s a quick comparison of your options:
| Method | Thinness | Effort | Cost | Cleanup |
|---|---|---|---|---|
| Chef’s knife + freezer | Good (1/8 inch) | Medium | Free | Easy |
| Electric meat slicer | Excellent (paper-thin) | Low | $50–$200 | Tedious |
| Food processor (slicing disc) | Decent (1/4 inch) | Low | Already owned | Moderate |
| Mandoline slicer | Good (adjustable) | Medium | $20–$50 | Easy |
A food processor with a slicing attachment can work in a pinch, but the slices tend to come out thicker than you’d want — closer to 1/4 inch. That’s fine for stir-fries but a bit chunky for a proper cheesesteak. If you go this route, make sure the meat is very cold (closer to 45 minutes in the freezer) so the processor blade doesn’t mush it.
A mandoline is an unexpected option that actually works surprisingly well for lean cuts like top round. Set it to the thinnest setting and slide the partially frozen steak across the blade. Just be extremely careful — mandolines are notoriously unforgiving, and a cut-resistant glove is a smart idea.
What to Do If Your Slices Aren’t Thin Enough
Let’s say you tried the freezer trick, you used your sharpest knife, and your slices still came out thicker than you wanted. Don’t panic — you can fix this after the fact.
Lay your slices flat on a cutting board and give them a rough chop. You’re not trying to dice the meat into cubes; you’re just breaking those thick strips into smaller, thinner pieces. Think of it as a coarse mince. When these smaller bits hit the hot pan, they’ll cook fast and crisp up nicely, and the overall texture will be much closer to what you’re going for.
This is actually how a lot of home cooks end up making their cheesesteaks, and there’s zero shame in it. The goal is tender, flavorful beef that blends with the cheese — not a knife skills competition.
Food Safety When Handling Raw Beef at Home
Working with raw beef means you need to be mindful of a few things to keep yourself and your family safe.
Keep your meat refrigerated at 40°F or below until you’re ready to prep it. When you pull it out for the freezer trick, don’t leave it sitting on the counter for more than a few minutes before and after the freeze. The USDA recommends that raw meat should never sit at room temperature for more than two hours total, and that window shrinks to one hour if your kitchen is above 90°F. You can find more details on the USDA’s beef handling guidelines.
Wash your hands, your knife, and your cutting board thoroughly with hot soapy water after handling raw beef. If you’re using a wooden cutting board, consider switching to plastic or composite for raw meat prep — non-porous surfaces are easier to sanitize.
Food Safety Note: This article provides general guidance for home cooking and is not a substitute for professional food safety advice. For detailed, up-to-date information, refer to the USDA Food Safety and Inspection Service. Always cook beef to a safe internal temperature — 145°F for whole cuts with a 3-minute rest, per USDA recommendations.
When you’re ready to cook your shaved beef, get your pan or griddle screaming hot before the meat goes on. Thin slices cook in under a minute, so you want that surface heat to sear the outside quickly without overcooking the inside. Pair your perfectly sliced beef with the right cheesesteak cheese and a proper hoagie roll, and you’ll have a sandwich that holds its own against the real deal.
Frequently Asked Questions
How thin should cheesesteak meat be?
Aim for slices around 1/8 inch thick or thinner. The ideal is paper-thin — you should almost be able to see light through the slice. At this thickness, the beef cooks in seconds on a hot griddle and gets that signature mix of crispy edges and tender interior. If your slices are closer to 1/4 inch, they’ll work but will be chewier.
Can I slice meat thin without a meat slicer?
Absolutely. The freezer trick combined with a sharp, long knife is the most reliable method for home cooks. Freeze your beef for 30 to 45 minutes until it’s firm but not rock-hard, then slice against the grain at a shallow angle. You won’t get the exact uniformity of a commercial slicer, but you’ll get thin enough slices for an excellent cheesesteak.
Should I slice the meat before or after cooking for cheesesteak?
Always slice before cooking. Cheesesteak meat is shaved raw and then cooked quickly on a hot surface. Slicing after cooking would give you strips of cooked beef, which is a completely different texture — more like a roast beef sandwich than a cheesesteak. The whole point is that the thin raw shavings cook almost instantly, developing a sear while staying tender inside.
What’s the easiest cut of meat to slice thin at home?
Top round is the easiest because it’s lean and has a uniform grain structure. Without all the marbling that ribeye has, your knife glides through cleanly with less slipping or tearing. Ribeye tastes better in the finished sandwich, but top round is more forgiving if you’re still getting the hang of the technique.
Your first attempt might not produce deli-perfect shavings, and that’s completely fine. The freezer trick alone will put you miles ahead of where most home cooks start, and your technique will sharpen after just two or three tries. Grab a ribeye, clear some space in the freezer, and make yourself a cheesesteak this weekend that actually tastes like it came from South Philly. And if you’ve got leftovers, check out the best way to reheat a cheesesteak so round two is just as good as round one.