
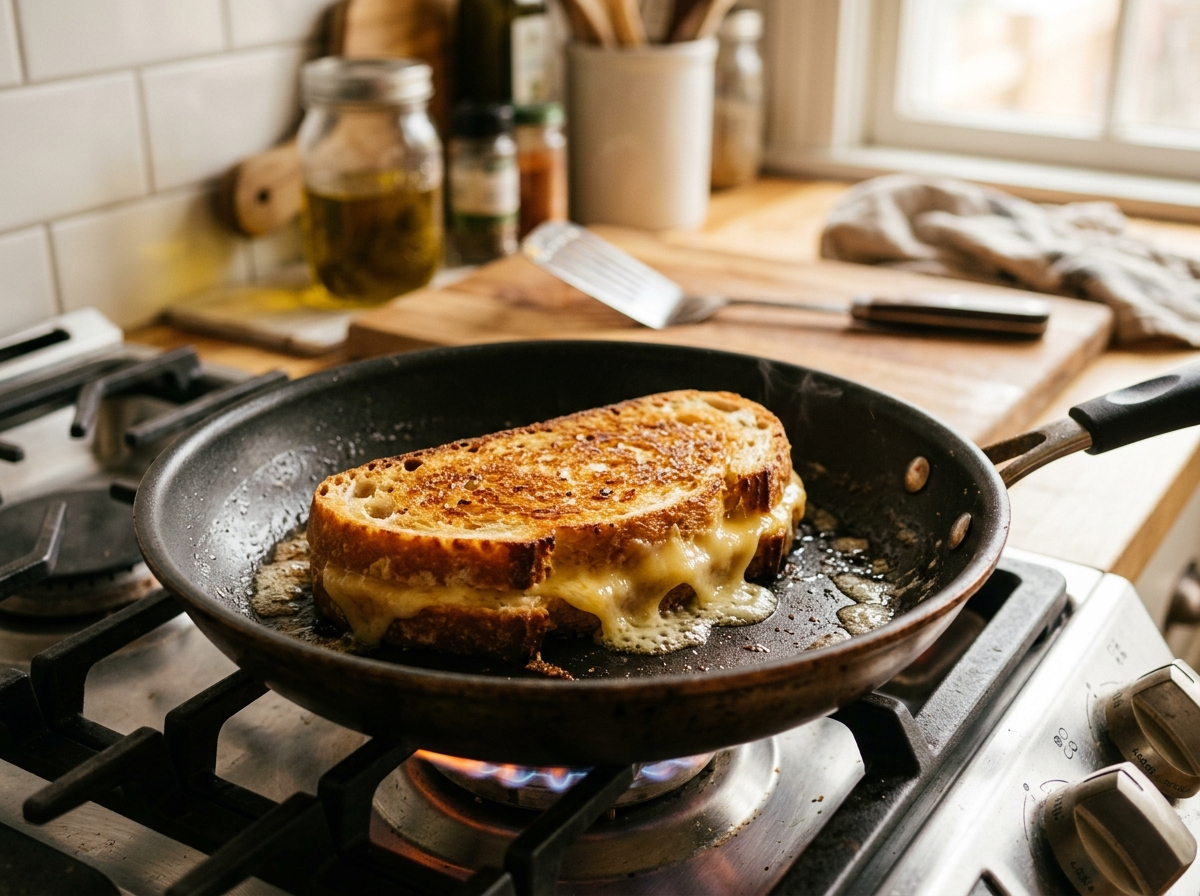
You spread the butter, you crank the heat, and two minutes later the bread is black while the cheese sits there cold and unmelted. Sound familiar?
The core problem is a timing mismatch. Bread browns fast. Cheese melts slow. When your pan runs too hot, the outside of the sandwich races ahead of the inside, and you end up with a burnt shell wrapped around a cold, rubbery center.
A grilled cheese is different from a melt or a panini because it relies on direct pan contact and a simple bread-butter-cheese stack. That simplicity means there’s nowhere to hide when the heat is wrong.
Here’s what actually happens when you drop bread into a screaming-hot skillet: the butter hits the metal, foams up, and starts browning within about 30 seconds. By the time you think about flipping, the bread has already crossed the line from golden to bitter. I’ve ruined more sandwiches this way than I’d like to admit, and the fix turned out to be embarrassingly simple.
The bread needs to reach roughly 285–330°F on its surface for that beautiful golden-brown color — a process called the Maillard reaction. Push past 350°F or so, and you’re no longer browning. You’re burning. Meanwhile, most cheeses need to reach an internal temperature of around 130–150°F before they start flowing properly. That gap between “bread is done” and “cheese is melted” is exactly where things go wrong.
The Right Heat for a Perfect Grilled Cheese
The single biggest change you can make is turning your burner down. Most people cook grilled cheese on medium or even medium-high because they want it done fast. That speed is exactly what ruins the sandwich.
Medium-low is your target. On most home stoves, that means a dial position around 3 or 4 out of 10. You want the butter to sizzle gently when the bread hits the pan, not spit and smoke.
Here’s the catch, though: “medium-low” is not a universal setting. Your burner’s medium-low might be someone else’s medium. Gas stoves, electric coils, and induction cooktops all deliver heat differently. So instead of trusting the dial, trust your eyes and ears.
How to Test Your Pan Temperature
Put your pan on the burner and add a small pat of butter. Watch what happens:
- Too hot: The butter turns brown within 15–20 seconds and starts smoking. Pull the pan off the heat and let it cool.
- Just right: The butter melts, foams lightly, and stays golden for at least 45–60 seconds. That’s your window.
- Too cool: The butter just sits there pooling without any sizzle when you add the bread. Give it another minute.
You want a gentle, steady sizzle — the kind that sounds like a quiet whisper, not a loud crackle. This patience is the backbone of how to make grilled cheese evenly.
Pro Tip: If you’re cooking multiple sandwiches, the pan will get hotter over time. You may need to drop the heat slightly after the first round.
Butter, Mayo, or Something Else on the Outside?
This is the debate that never dies. Butter is the classic choice, and it gives you the richest flavor. But butter contains milk solids that burn at relatively low temperatures — around 300°F. That’s part of why your bread chars so quickly.
Mayonnaise, on the other hand, is mostly oil and egg yolk. It has a higher smoke point and spreads more evenly on the bread, which helps you get a uniform golden crust without hot spots. America’s Test Kitchen tested this side by side and found that mayo-coated bread browned more evenly and burned less readily than butter-coated bread. The flavor difference is subtle — most people can’t tell in a blind taste test.
You can also use a combination. Spread a thin layer of mayo on the outside for even browning, and put a small amount of butter inside the sandwich against the cheese for that classic flavor. It sounds strange, but it works.
Whatever you choose, the key is an even, thin coat that reaches all the way to the edges of the bread. Dry spots won’t brown. Globs will burn. A butter knife or the back of a spoon works better than your fingers for getting a smooth, consistent layer.
Choosing the Right Bread and Cheese
Your ingredients matter more than most people think. The wrong bread or the wrong cheese can fight against you no matter how well you manage the heat.
Bread Thickness Matters
Thick-cut artisan sourdough looks gorgeous, but it creates a bigger gap between the hot pan surface and the cheese in the middle. That means you need more time for the heat to travel inward — and more time means more risk of over-browning the outside.
For a reliable grilled cheese without burning bread, stick with slices that are about half an inch thick or less. Standard sandwich bread, Texas toast (used sparingly), or a moderately sliced sourdough all work well. If you’re using a thick, dense loaf, consider slicing it a little thinner than you normally would.
Moisture content matters too. Very fresh, soft bread can steam and get gummy inside before the cheese melts. Day-old bread or lightly toasted bread holds up better. If you’ve ever dealt with a soggy sandwich, you know that excess moisture is the enemy of a good crust.
Cheese That Melts vs. Cheese That Doesn’t
Not all cheese melts the same way. American cheese, Monterey Jack, and young cheddar melt quickly and smoothly because they have higher moisture content and the right balance of fat and protein. Aged cheddar, Gruyère, and pepper jack take a bit longer but reward you with deeper flavor.
Hard, dry cheeses like Parmesan or aged Pecorino won’t give you that gooey pull on their own. They’re better as a secondary cheese mixed in with something creamier.
If you want a deeper look at how different cheeses behave under heat, this breakdown of the best melting cheeses covers a lot of the same principles that apply to grilled cheese.
The golden rule: Use about 2–3 ounces of cheese per sandwich, and grate it or slice it thin. A thick slab of cold cheese takes forever to melt, and by the time it does, your bread is toast — literally.
Step-by-Step: How to Make Grilled Cheese Evenly
Here’s the method that consistently produces a grilled cheese without burning bread. It takes about 8–10 minutes total, which is a few minutes longer than the high-heat rush job, but the result is worth it.
Step 1: Prep your ingredients. Butter (or mayo) both outer sides of the bread. Layer your cheese between the dry inner sides. If you’re using multiple cheeses, put the best melter closest to the bread.
Step 2: Start with a cold or barely warm pan. This is the counterintuitive part. Place your sandwich in the pan before you turn on the heat, or just after the burner reaches low. This gives the cheese a head start on melting while the bread slowly comes up to browning temperature. Serious Eats’ J. Kenji López-Alt popularized this cold-pan-start method, and it genuinely reduces the burn risk because the bread and cheese heat up together rather than the bread racing ahead.
Step 3: Set the burner to medium-low. Let the sandwich cook undisturbed for about 3–4 minutes. Resist the urge to peek or press down. Pressing squeezes out melted cheese and compresses the bread, which makes it cook unevenly.
Step 4: Check the first side. Lift a corner gently with a spatula. You’re looking for a uniform golden-brown color — the shade of a lightly toasted crouton, not a dark brown cookie. If it’s still pale, give it another minute.
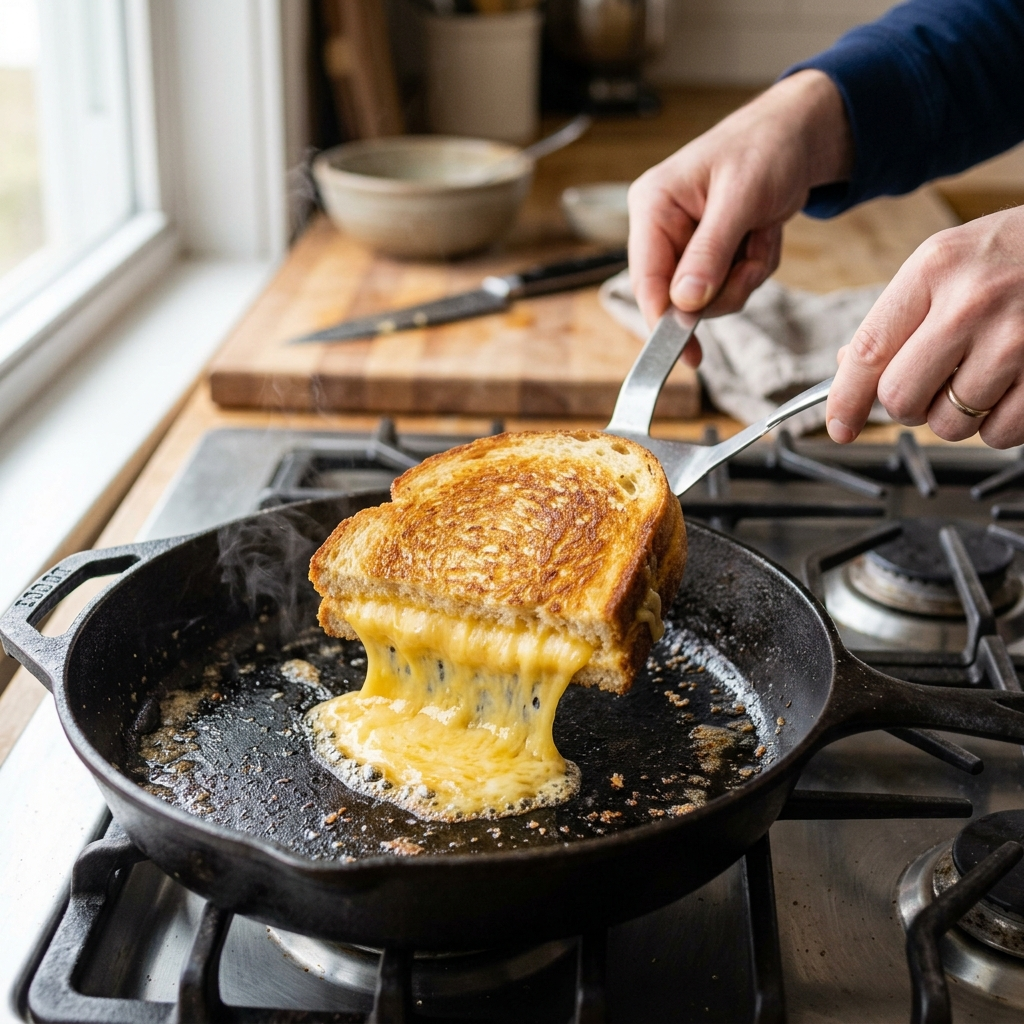
Step 5: Flip and cover. This is the secret weapon. Once you flip the sandwich, place a lid or a piece of foil loosely over the pan. The lid traps steam and ambient heat, which helps the cheese finish melting from the top down while the second side browns from below. Cook for another 2–3 minutes with the lid on.
Step 6: Remove and rest. Take the sandwich off the heat and let it sit for about 60 seconds before cutting. This lets the cheese set slightly so it doesn’t pour out the moment you slice into it.
Quick Troubleshooting Checklist
- Bread browning too fast? Drop the heat and add the lid earlier.
- Cheese still cold after both sides are golden? Your heat was too high. Next time, go lower and slower, and use thinner cheese slices.
- Uneven browning? Your pan may have hot spots. Try moving the sandwich around slightly during cooking, or switch to a heavier pan that distributes heat more evenly.
The Pan You Use Actually Matters
A thin, cheap aluminum pan heats up fast and develops hot spots that scorch one corner of your sandwich while the rest stays pale. A heavy-bottomed pan — cast iron, carbon steel, or a quality nonstick skillet — spreads the heat more evenly across the entire surface.
Cast iron is a favorite for grilled cheese because it holds a steady temperature and gives you that even, edge-to-edge browning. The trade-off is that cast iron takes longer to heat up and cool down, so you need to be a little more patient at the start.
Nonstick pans work fine too, especially if you’re using less butter or mayo. Just avoid cranking the heat above medium on nonstick, since high temperatures can damage the coating over time.
If you don’t want to deal with a stovetop at all, you can also toast your sandwich in the oven for a hands-off approach that virtually eliminates burning. The oven’s ambient heat is gentler and more uniform than direct pan contact, though you’ll sacrifice some of that crispy, buttery crust.
Troubleshooting: When Things Still Go Wrong
Even with the right technique, a few things can trip you up. Here are the most common problems and how to fix them.
Problem: The cheese melts but leaks out the sides and burns on the pan.
You’re using too much cheese, or the slices are too thick. Stick to 2–3 ounces and spread the cheese so it stays about a quarter-inch from the edges. As it melts, it’ll spread outward and fill the gap.
Problem: The bread is golden but the inside is dry and tough.
You likely cooked too long on too low a heat, which dried out the bread before the cheese could properly melt. Try bumping the heat up just slightly and using the lid trick to speed up the cheese melt.
Problem: One side is perfect and the other is pale.
Your pan has uneven heat distribution, or you didn’t press the sandwich down gently at the start to ensure full contact with the pan. A quick, light press with your spatula right after placing the sandwich in the pan helps — just don’t keep pressing throughout the cook.
Problem: The sandwich is greasy.
Too much butter or mayo on the outside. You want a thin, even layer — enough to coat the surface, not enough to pool in the pan. Also, make sure your pan is hot enough that the fat sizzles on contact rather than soaking into the bread. Understanding the difference between a hot and cold sandwich approach can help you think about how heat and fat interact with different bread types.
Frequently Asked Questions
What temperature should I cook grilled cheese on?
Medium-low heat is the sweet spot for a grilled cheese without burning bread. On most home stoves, that’s around 3 or 4 on a 1–10 dial. The butter should sizzle gently, not smoke. If you’re using an electric griddle, aim for about 275–300°F. The goal is to give the cheese time to melt before the bread over-browns.
Should I use butter or mayo on the outside of my grilled cheese?
Both work, and the choice depends on your priorities. Butter gives you a richer, more traditional flavor but burns more easily because of its milk solids. Mayo spreads more evenly and has a higher smoke point, which makes it more forgiving if your heat runs a little high. Many cooks use mayo on the outside and butter on the inside for the best of both worlds.
Why does my cheese not melt before the bread burns?
This happens because bread browns at a lower surface temperature than the internal temperature cheese needs to fully melt. When your pan is too hot, the bread races ahead. The fix is to lower the heat, use thinner cheese slices or grated cheese, and cover the pan with a lid after flipping to trap heat and help the cheese catch up. Starting in a cold pan also helps the bread and cheese warm up together.
Your Next Grilled Cheese Starts Here
The difference between a burnt disappointment and a perfect grilled cheese isn’t talent — it’s patience and a slightly lower flame. Turn the heat down, spread your butter or mayo evenly, pick a cheese that actually melts, and give the lid trick a try. That small shift in approach turns a two-minute rush into an eight-minute ritual that pays off the moment you bite into a golden, crispy, gooey sandwich.
Your stove, your pan, and your bread will all behave a little differently, so treat your first attempt as a test run. Pay attention to how fast the bread colors, listen to the sizzle, and adjust from there. Once you dial in the right combination for your kitchen, you’ll nail a grilled cheese without burning bread every single time.
Now go make one. You’ve earned it.