
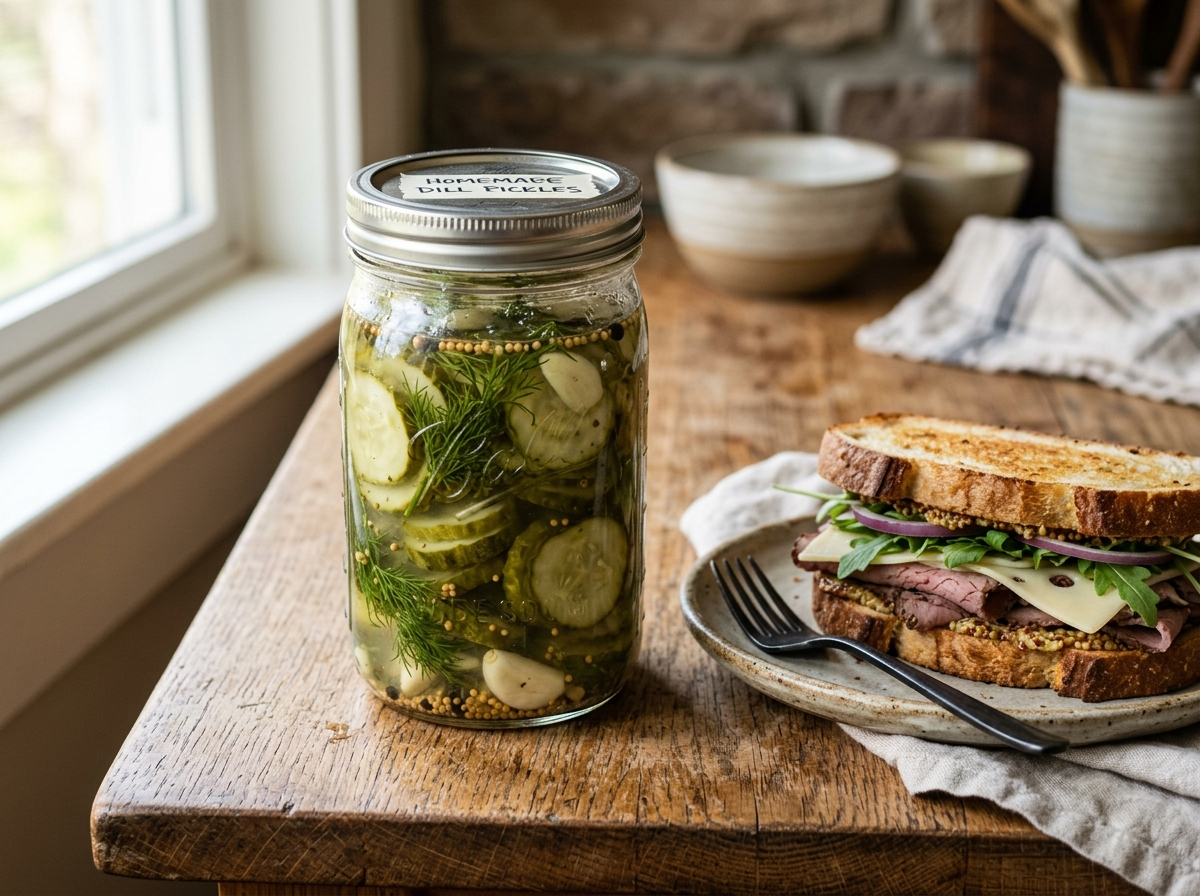
Most store-bought pickles sit in jars for months before they reach your sandwich. By the time you crack one open, the crunch is gone and the flavor tastes flat. Making sandwich pickles at home changes that completely. You get bright, tangy, genuinely crunchy pickles in about 24 hours — no special equipment, no weeks of waiting. This homemade pickles recipe walks you through everything from picking the right cucumber to building a brine that actually tastes like something from a good deli counter.
What Makes a Great Sandwich Pickle?
A great sandwich pickle does two things. It adds crunch, and it cuts through rich, fatty flavors with a sharp tang. Think about a pastrami on rye or a fried chicken sandwich. Without that acidic snap from a pickle, the whole thing tastes heavy and one-note.
The problem is that most people grab whatever jar is on sale and call it done. Those pickles were processed with high heat to make them shelf-stable, and that heat destroys the cell structure of the cucumber. That’s why they’re soft.
When you make quick pickles at home, you skip the high-heat processing entirely. You pour hot (not boiling) brine over fresh cucumbers and let the fridge do the work. The result is a pickle that actually snaps when you bite into it.
Choosing the Right Cucumbers for Your Homemade Pickles Recipe
This is where most homemade pickle attempts go wrong. You can’t just grab any cucumber from the produce aisle and expect great results.
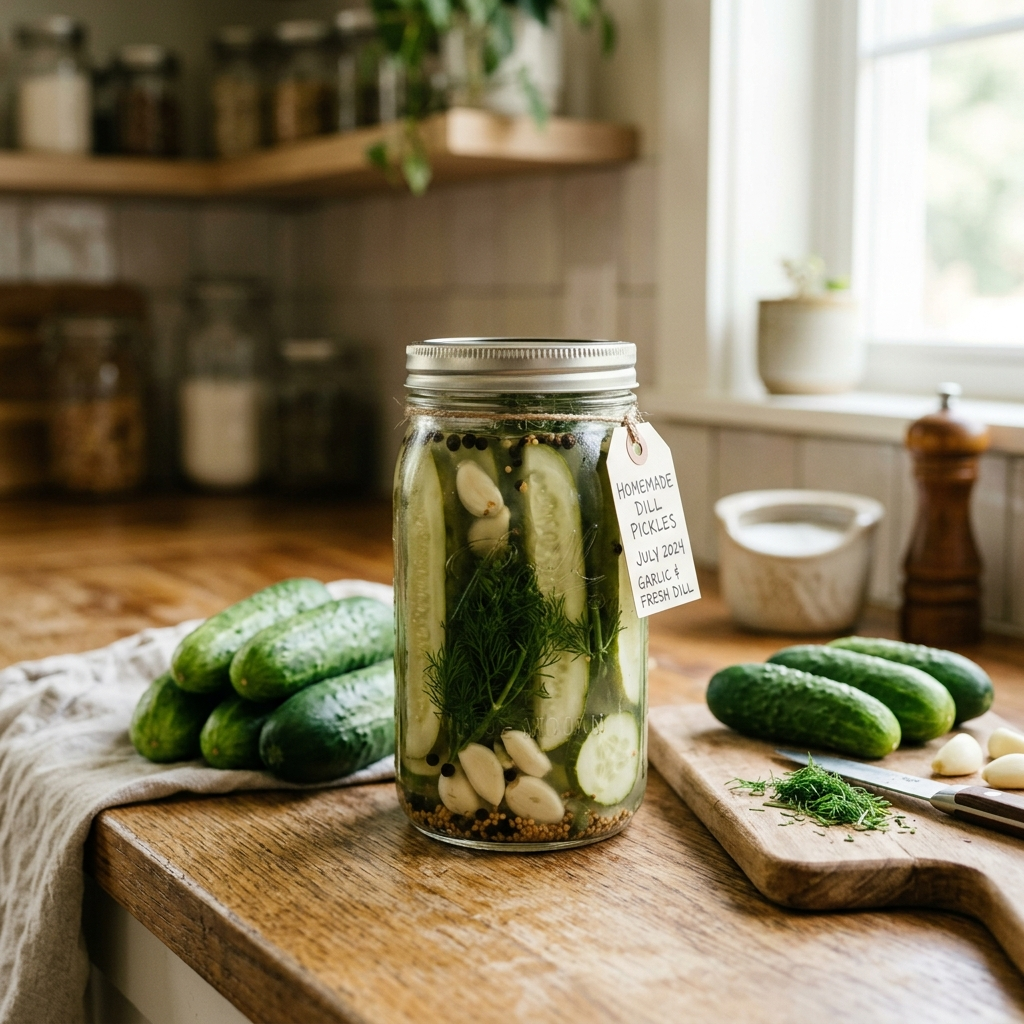
Kirby cucumbers are your best bet. They’re short, bumpy, and thick-skinned. You’ll find them labeled as “pickling cucumbers” at most grocery stores, especially in summer. Their smaller seed cavity and denser flesh hold up to brine without turning mushy.
If you can’t find Kirbys, Persian cucumbers are a solid backup. They’re slim, nearly seedless, and stay reasonably crisp. Just slice them a little thicker than you would a Kirby.
Avoid standard slicing cucumbers — the big, dark green ones wrapped in plastic. They have thin flesh, large seeds, and a high water content that turns them soggy within a day of hitting the brine. I learned this the hard way early on. I sliced up a beautiful English cucumber, poured my brine over it, and opened the jar the next day to find something closer to cucumber soup than pickles.
Pro Tip: Buy cucumbers that feel firm when you squeeze them. If they give at all, they’re already starting to soften, and no amount of brine magic will bring them back.
Quick Pickle Recipe for Sandwiches (Ready in 24 Hours)
This is a refrigerator pickle method, meaning you store the jars in the fridge rather than processing them in a water bath. It’s the fastest path to deli style pickles at home, and it keeps the crunch intact. If you want a broader look at homemade pickling beyond sandwiches, this homemade pickles guide covers additional methods and variations.
Ingredients You’ll Need
- 1 pound Kirby cucumbers (about 4–6 medium)
- 1 cup white vinegar (5% acidity)
- 1 cup water
- 1 tablespoon pickling salt (or kosher salt — not iodized table salt)
- 1 tablespoon sugar (optional, but it rounds out the sharpness)
- 4–6 garlic cloves, lightly smashed
- 1 teaspoon whole black peppercorns
- 1 teaspoon mustard seeds
- A big handful of fresh dill (stems and fronds)
- Optional: ½ teaspoon red pepper flakes for heat
Step-by-Step Instructions
Step 1: Prep your cucumbers. Wash them well and trim about 1/16 inch off the blossom end. This matters more than it sounds. The blossom end contains an enzyme called pectinase that breaks down pectin, which is the compound that keeps your pickles firm. Leaving it on is a one-way ticket to mushy pickles. Slice your cucumbers into spears, coins, or chips — whatever fits your sandwich style. For classic deli sandwiches, I go with ¼-inch coins. For burgers and fried chicken sandwiches, thick spears work better.
Step 2: Ice-water soak (the crunch secret). Drop your sliced cucumbers into a bowl of ice water and let them sit for 30 minutes while you prep everything else. This firms up the cell walls and makes a noticeable difference in the final texture. Drain them well before packing into jars.
Step 3: Pack the jars. Stuff your dill, garlic cloves, peppercorns, and mustard seeds into the bottom of clean mason jars. Then pack the cucumber slices in tightly. You want them snug — they’ll shrink a little as the brine does its work.
Step 4: Make the brine. Combine the vinegar, water, salt, and sugar in a saucepan. Heat it over medium until the salt and sugar dissolve completely. You don’t need a rolling boil — just hot enough to dissolve everything, around 180°F. Pour the hot brine over the cucumbers, leaving about ½ inch of headspace at the top of the jar.
Step 5: Cool and refrigerate. Let the jars sit on the counter until they reach room temperature (about an hour). Then screw on the lids and put them in the fridge. Your pickles will taste good after 24 hours, but they hit their peak around day three.
Tips for Maximum Crunch
Crunch is the single biggest reason people bother making their own pickles. Here’s what actually works, based on real kitchen experience and food science.
Trim the blossom end. I mentioned this above, but it’s worth repeating because it’s the most common mistake. Even a tiny bit of the blossom end left on can soften the whole batch. The pectinase enzyme is concentrated right at that tip.
Use pickling salt. Regular table salt contains anti-caking agents and iodine that can cloud your brine and slightly soften the cucumbers. Pickling salt is pure sodium chloride with no additives. Kosher salt works too, but you’ll need to adjust the volume because the crystals are larger. A tablespoon of pickling salt equals about 1.5 tablespoons of Diamond Crystal kosher salt.
Don’t overheat the brine. Pouring boiling brine over cucumbers partially cooks them. You want the brine hot enough to dissolve the salt and kill surface bacteria, but not so hot that it starts breaking down the cucumber’s structure. Around 180°F is the sweet spot.
Add a grape leaf or black tea bag. This is an old-school trick that actually has science behind it. Both grape leaves and black tea contain tannins, which bind to pectin in the cucumber and help it stay firm. Toss one grape leaf or a single black tea bag into each jar before adding the brine.
Keep them cold. Once your pickles are in the fridge, leave them there. Pulling them out repeatedly for room-temperature snacking speeds up softening.
Troubleshooting Common Problems
My pickles are too salty. You probably used table salt instead of pickling salt. Table salt is denser by volume, so a tablespoon of table salt packs more sodium than a tablespoon of pickling salt. Next time, switch to pickling or kosher salt. For the current batch, you can drain some brine and replace it with a mix of water and vinegar.
My pickles are too soft. Check the tips above. The most likely culprits are not trimming the blossom end, using overripe cucumbers, or pouring boiling brine over the slices.
My brine is cloudy. A little cloudiness is normal, especially if you used kosher salt (some brands contain anti-caking agents that cause this). If the cloudiness comes with a bad smell or slimy texture, that’s a sign of spoilage — discard the batch.
My pickles taste too vinegary. Let them sit in the fridge for a few more days. The flavor mellows and balances out over time. You can also add a little more sugar to the brine.
Deli Style Pickles vs. Quick Pickles: What’s the Difference?
You might be wondering whether this quick pickle recipe actually produces real deli style pickles. The honest answer is: it gets you close, but they’re not identical.
Traditional deli pickles are fermented. Cucumbers sit in a saltwater brine (no vinegar) for days or weeks while naturally occurring lactobacillus bacteria convert sugars into lactic acid. That’s what gives fermented pickles their complex, funky, deeply sour flavor. The process also creates probiotics, which quick pickles don’t have.
Quick pickles get their tang directly from vinegar. The flavor is brighter and sharper, but less complex. The trade-off is speed and convenience — you get edible pickles in a day instead of a week or more.
For sandwiches, quick pickles work beautifully. The sharp vinegar tang cuts through fatty meats and cheeses exactly the way you want. If you’re specifically after that deep, garlicky, half-sour deli flavor, fermentation is the way to go, but that’s a different project entirely.
Storing, Customizing, and Getting the Most from Your Pickles
How to Store Homemade Sandwich Pickles
Refrigerator pickles are not shelf-stable. They need to stay in the fridge at all times. When stored properly at or below 40°F, your homemade sandwich pickles will stay crunchy and flavorful for 3 to 4 weeks.
After that, they won’t necessarily be dangerous, but the texture starts to decline and the flavor gets overly sharp. If the brine turns cloudy, the pickles develop an off smell, or you see any mold, toss the whole jar. Don’t taste-test questionable pickles.
Food safety note: This recipe is for refrigerator pickles only. If you want to store pickles at room temperature, you need to follow a tested water-bath canning process with specific acidity ratios. The National Center for Home Food Preservation provides detailed, tested guidelines for safe home canning of pickled products. Don’t improvise with canning — botulism is not something to guess about. This information is for general guidance and is not a substitute for following tested, up-to-date preservation instructions from a qualified food safety authority.
Customizing Your Pickles for Different Sandwiches
One of the best things about making sandwich pickles at home is that you can tailor them to whatever you’re building. Here are some combinations that work well.
For classic deli sandwiches (turkey, pastrami, Reuben): Stick with the base recipe above. The dill-garlic combo is timeless for a reason. Slice into thin coins so they layer flat on the bread without sliding out. If you want to dig deeper into building deli-style sandwiches, check out this guide on how to build the perfect deli sandwich.
For fried chicken sandwiches: Go with thick spears and add extra red pepper flakes to the brine. The heat plays off the crispy breading beautifully. You can also swap half the white vinegar for apple cider vinegar for a slightly fruitier tang.
For burgers: Bread-and-butter style works great here. Increase the sugar to 3 tablespoons, add ½ teaspoon turmeric and ½ teaspoon celery seed to the brine, and slice the cucumbers into thin chips. The sweetness balances the char of a good burger patty. If you’re also working on your burger game, this piece on popular sandwich toppings has some great pairing ideas.
For Italian hoagies and subs: Add a teaspoon of dried oregano and a few slices of fresh jalapeño to the jar. The herbal note bridges the gap between the pickles and the Italian meats and cheeses.
For fish sandwiches: Use a lighter brine — reduce the vinegar to ¾ cup and increase the water to 1¼ cups. Add a couple of strips of lemon peel to the jar. The milder acidity won’t overpower delicate fried fish.
If you’ve ever dealt with a sandwich that falls apart or gets soggy from wet toppings, this article on how to prevent a soggy sandwich has some useful layering tricks that apply to pickles too.
FAQ
How long do homemade refrigerator pickles last?
Refrigerator pickles stay at their best for 3 to 4 weeks when stored at or below 40°F. After that, the texture softens and the flavor becomes overly sharp. Always check for off smells, mold, or excessive cloudiness before eating.
Can I use regular cucumbers instead of pickling cucumbers?
You can, but the results won’t be as good. Standard slicing cucumbers have thinner flesh and more water, which makes them turn soft quickly in brine. If slicing cucumbers are all you have, peel them, scoop out the seeds, and slice them thick. They’ll still taste fine — they just won’t have that satisfying snap.
Do I need to sterilize my jars for refrigerator pickles?
You don’t need to run them through a full canning sterilization process since these pickles live in the fridge. But you should start with very clean jars. Wash them in hot soapy water or run them through the dishwasher before packing. Clean jars reduce the risk of unwanted bacteria and help your pickles last the full 3–4 weeks.
Can I reuse the brine for a second batch?
It’s not recommended. The brine’s acidity drops after the first batch, which means it won’t preserve the next round of cucumbers as effectively. It also picks up flavors and bacteria from the first batch. Make fresh brine each time — it only takes a few minutes.
What’s the best vinegar for homemade pickles?
White distilled vinegar (5% acidity) gives you the cleanest, sharpest flavor and keeps the brine clear. Apple cider vinegar works well too and adds a slightly fruity note, but it will darken the brine. Avoid vinegars with less than 5% acidity (like some rice vinegars) because they won’t preserve the pickles properly.
Grab a pound of Kirby cucumbers next time you’re at the store and try this quick pickle recipe. The whole process takes about 30 minutes of active time, and you’ll have crunchy, tangy, deli-worthy pickles ready to stack on your sandwiches by tomorrow. Once you taste the difference between homemade and jarred, you probably won’t go back.
If you’re looking for more ways to upgrade your sandwich game, browse the full collection of recipes and tips at Antney’s Grub — there’s plenty more where this came from.